Network & Security Home Lab:

Posted June 16, 2024
Part 3 - Parrot Linux setup
In this module, we are going to install Parrot OS. This VM will be used for ethical hacking and management.
We will use this VM in the next module also to complete the pfSense final setup.
Download Parrot Linux
Go to the following link: Download > Parrot linux
As of writing the latest version of Parrot is 6.1 Lorikeet
- Download the recommended VirtualBox
.ova. The image is around 7GB in size so it will take some time to download.
Once it is downloaded we should have an
.ovafile.
- Move this file to the folder where the pfSense iso was also stored.
Since this is a .ova file, you will import not Create new. In VirtualBox.
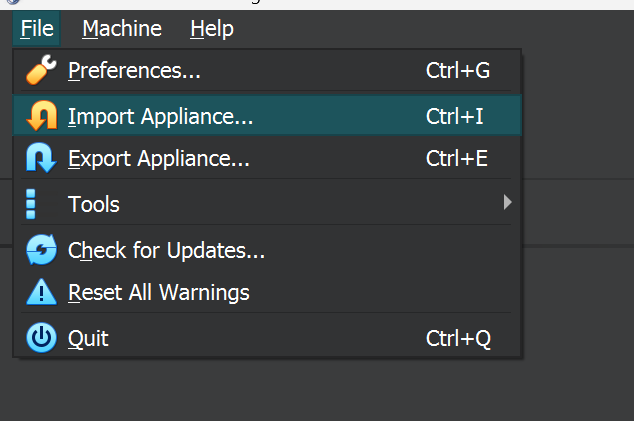
ParrotSec VM Creation
-
Open VirtualBox.
-
Select
Machinefrom the toolbar and then click onImport.
Image Ref. (click me!)
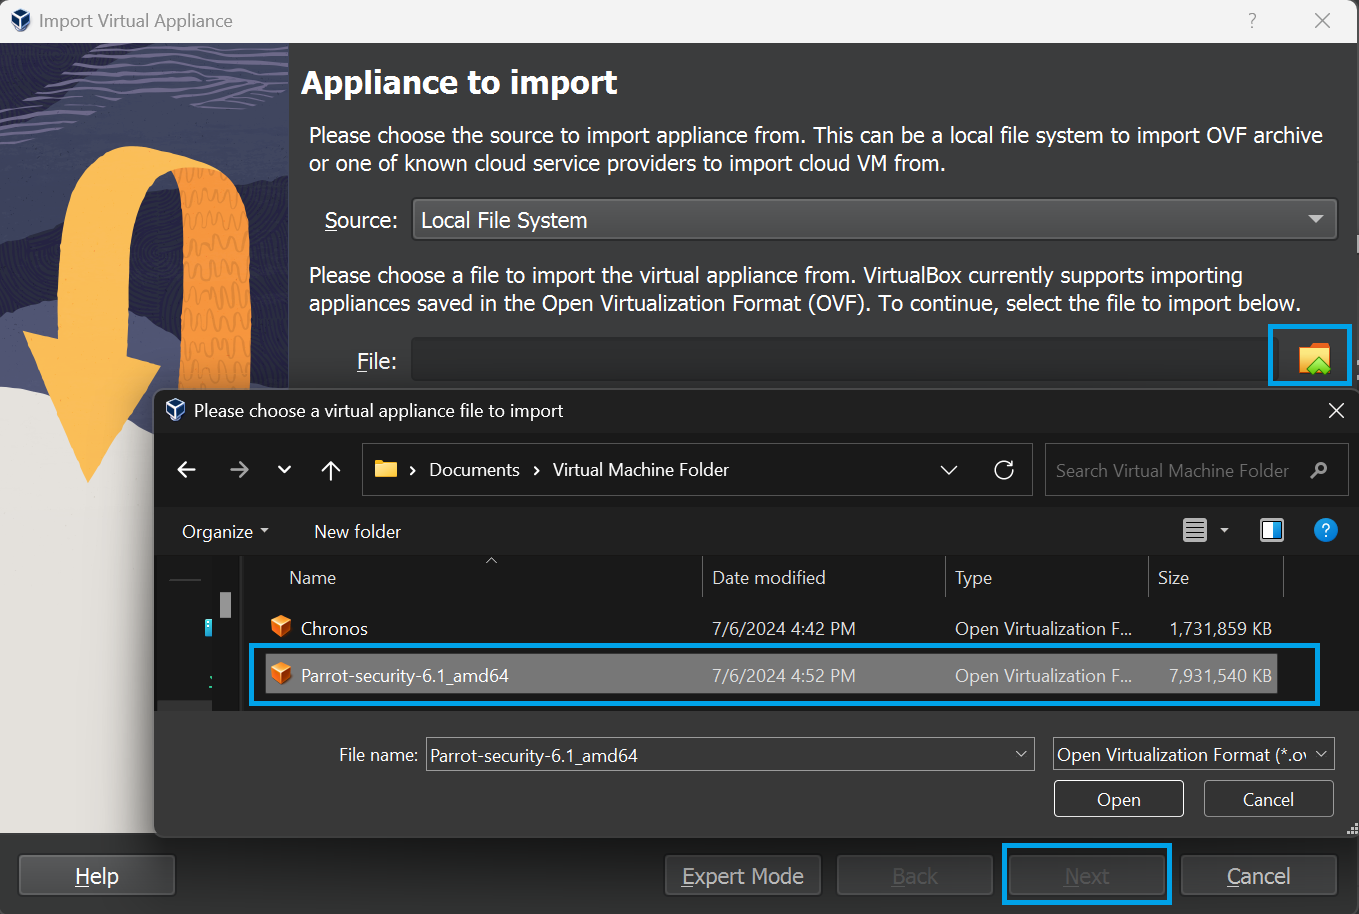
- Select the folder where the Parrot
.ovais stored, then hitNext
Image Ref. (click me!)
For the Appliance Settings, select Generate new mac addresses, then hit
Next.
Image Ref. (click me!)
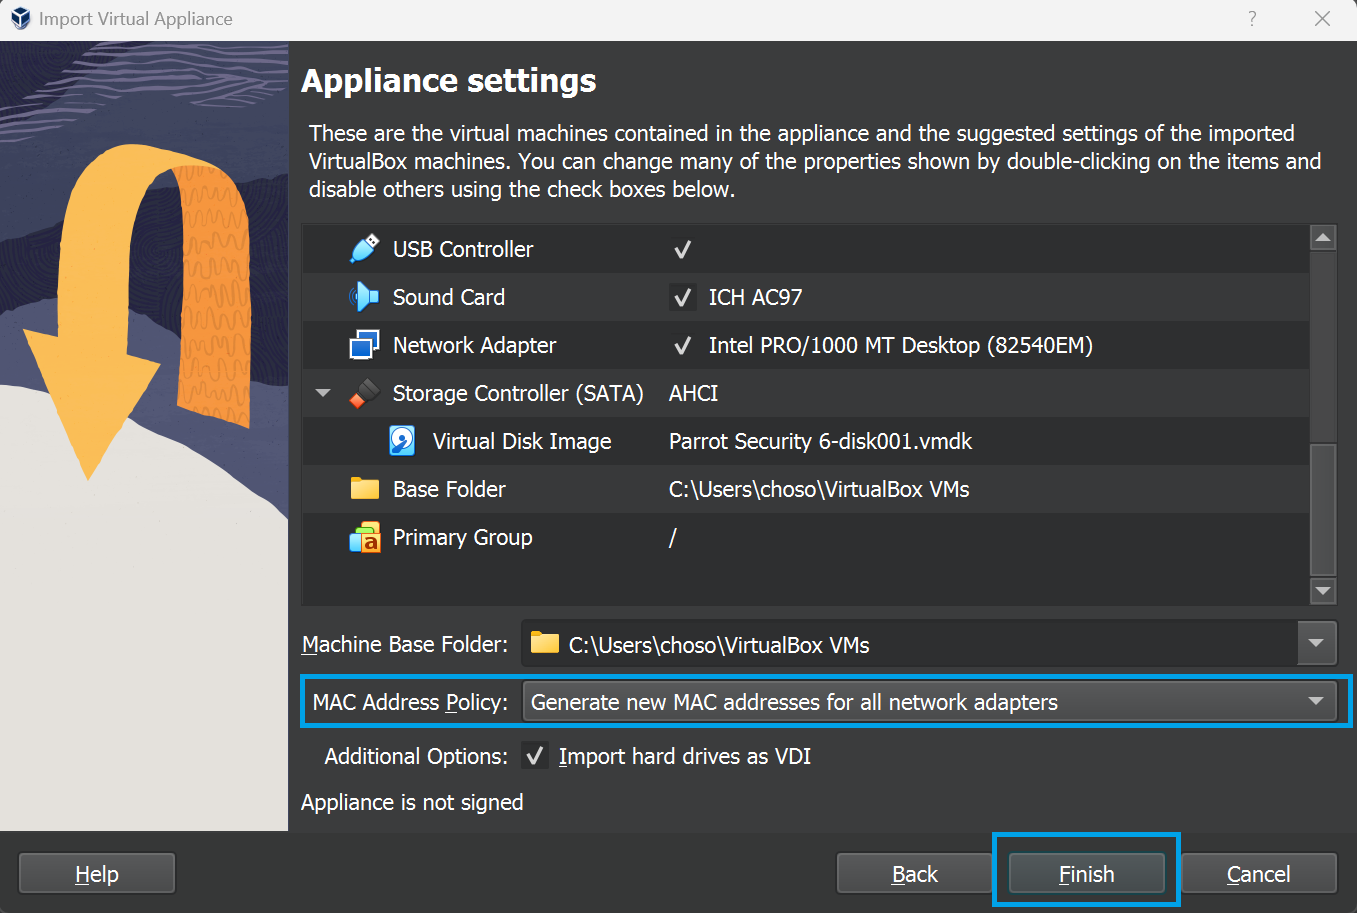
You are able to change values later on for hardware resources if need be.
Click on
Finish.
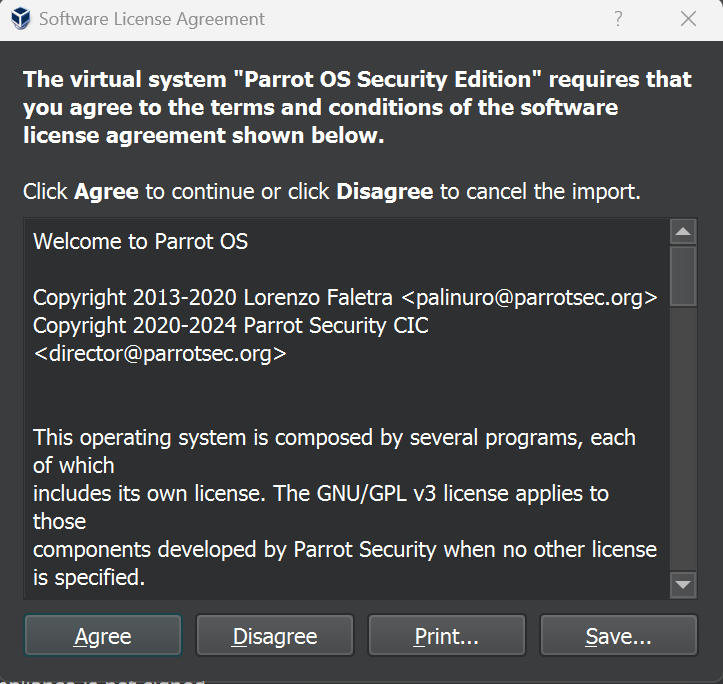
Lastly, there will be an Agreenment to Accept or Deny. Once accepted, the
.OVAappliance will begin importing.
Image Ref. (click me!)
Adding VM to Group
Right-click on the Parrot VM from the sidebar, select Move to Group ->
New.
Right-click on the group name and select
Rename Group. Name the groupManagement.
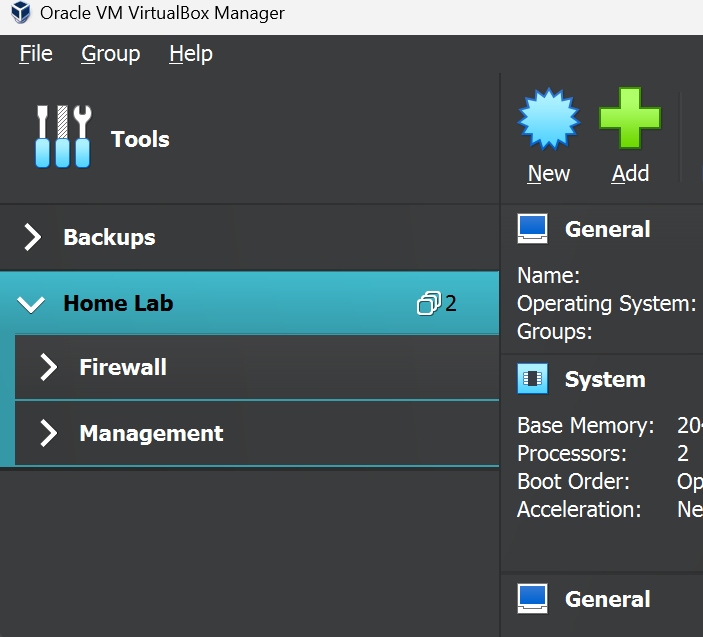
Now we are going to create a nested group for our home lab.
Select the Firewall and Management group (Ctrl+Click). Right-click on the name of one of the groups. From the menu select Move to Group -> [New].
Now both the groups should be nested inside the New Group . Right-click on the group and choose Rename Group. Give our group the name Home Lab.
Double check, now we should have the following structure:
Image Ref. (click me!)
Parrot Updating
-
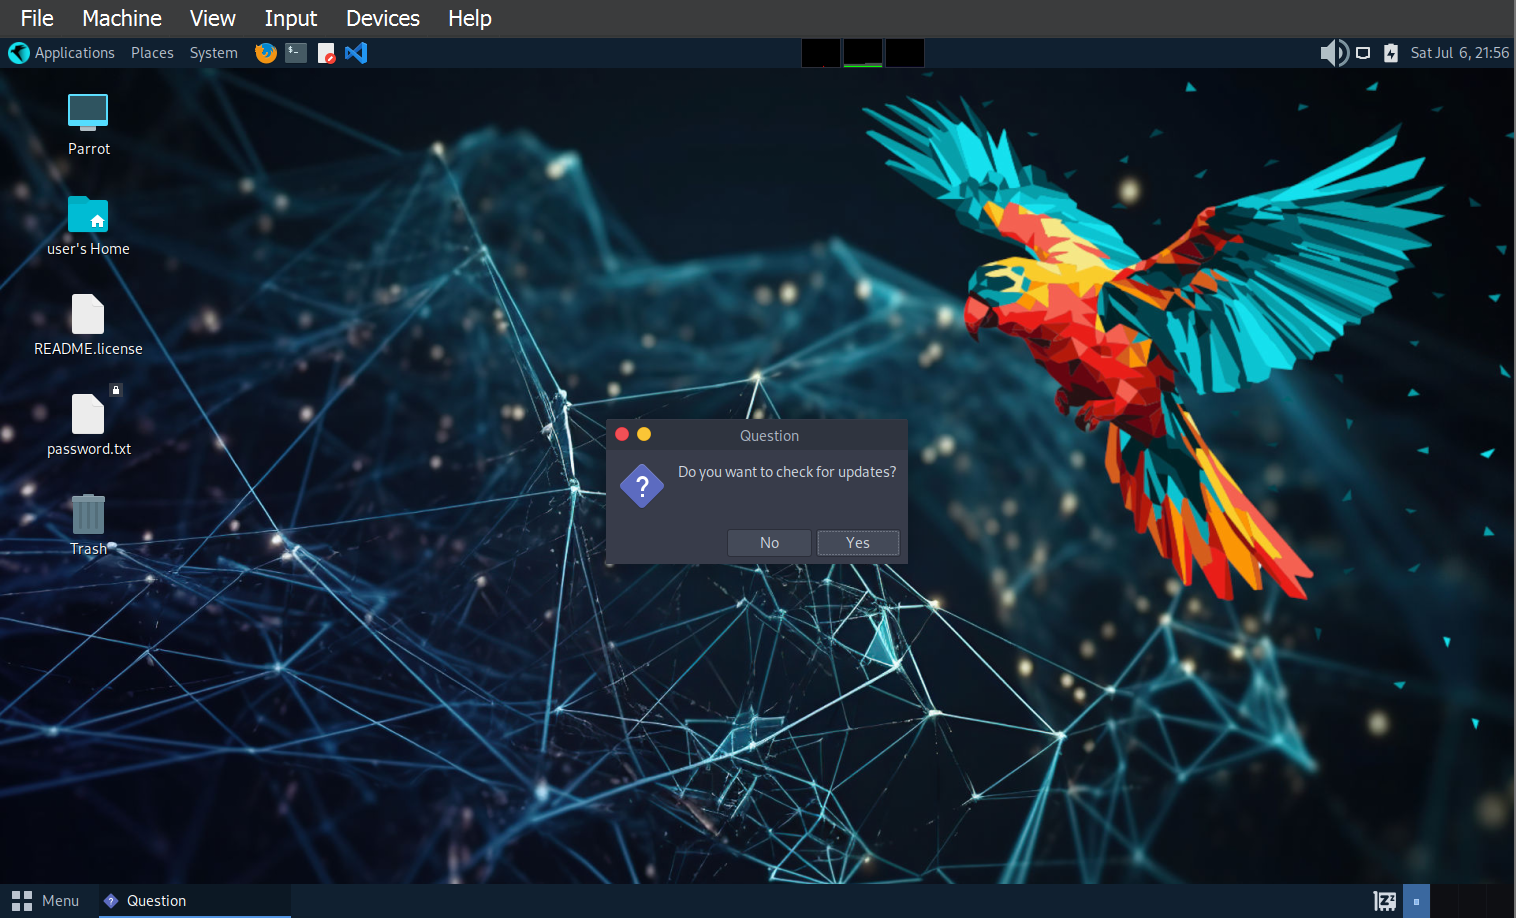
When Parrot boots, after a couple seconds it will ask to search for updates.
-
Hit
Yesto check for updates.
Default password
- It will ask for a root password.
We need to change the default credentials, they are by default:
user: parrot
password: parrot
Image Ref. (click me!)
- Once updated, find the terminal on the top right of the machine.
Run the following command:
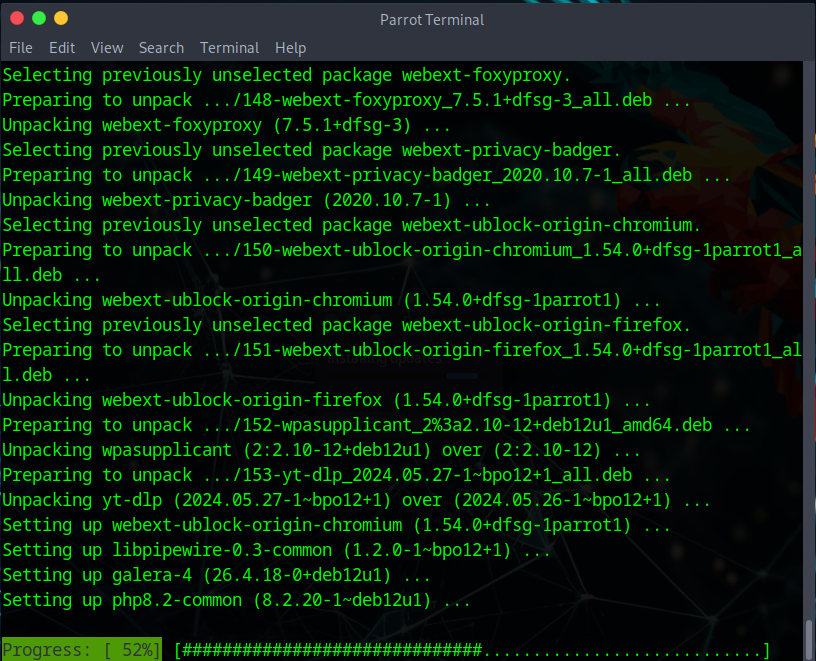
sudo apt autoremove
Image Ref. (click me!)
Now run:
sudo shutdown now
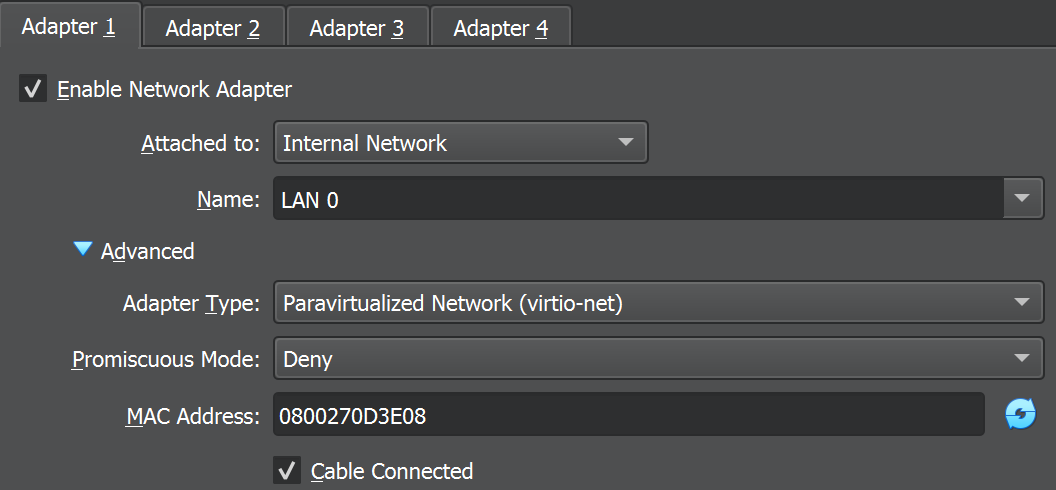
Network Configuration
Go to Network -> Adapter 1. For the Attached to field select Internal Network. For Name select LAN 0. Expand the Advanced section. For Adapter Type select Paravirtualized Network (virtio-net).
Changing Default password/IP a
Select pfSense from the sidebar and click on
Starton the toolbar.
Select Parrot OS Security Edition from the sidebar and click on
Starton the toolbar.
Once Parrot starts, find the terminal in the top left.
- We will run a series of commands, firstly to identify if pfSense issued an IP address in the correct subnet, and secondly to change the password.
You should also change the default username.
ip a
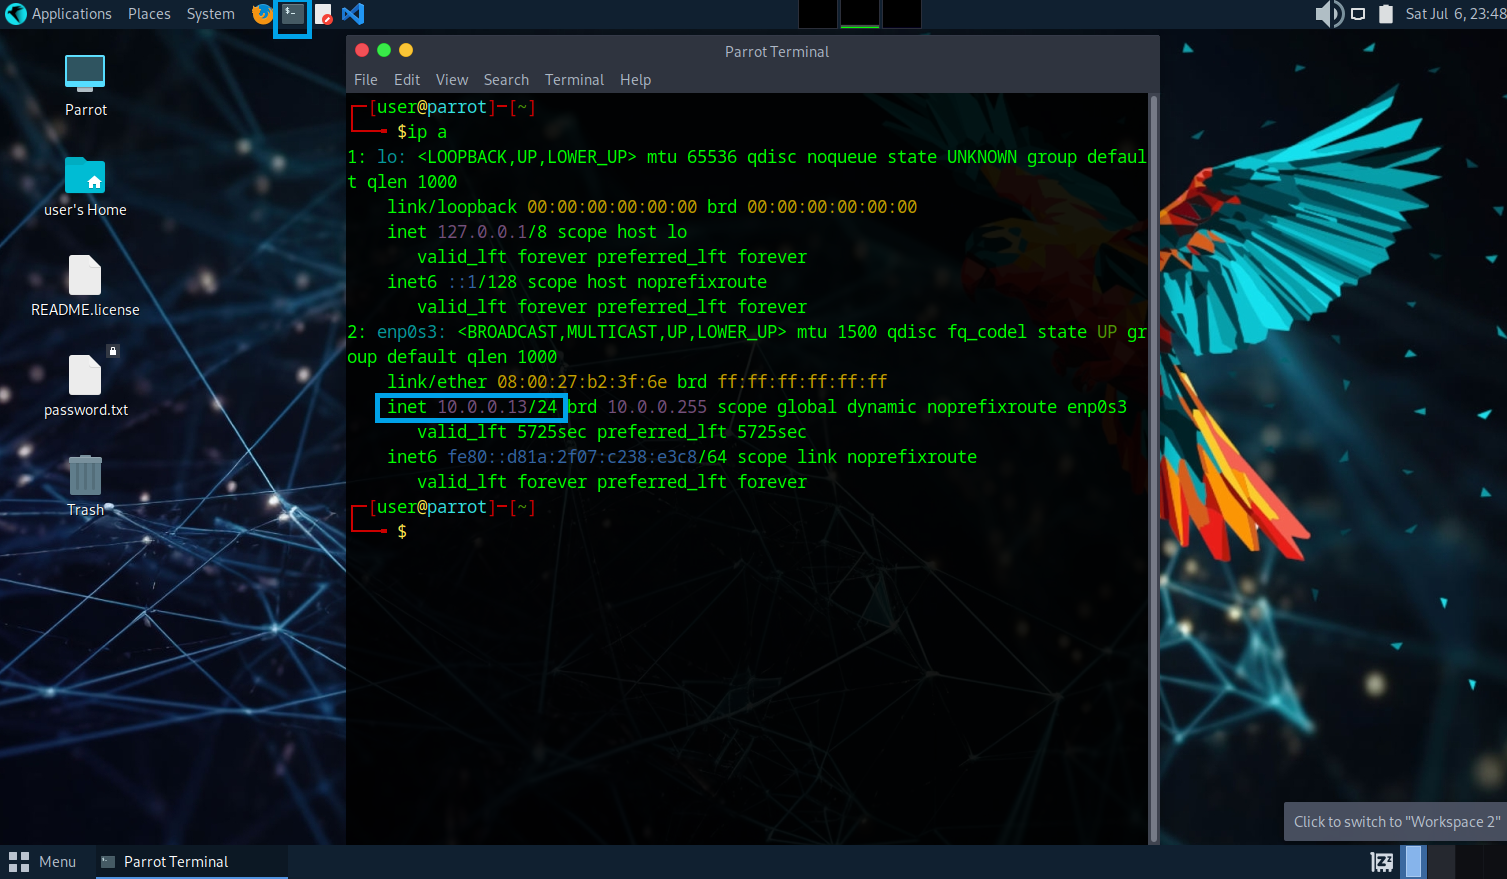
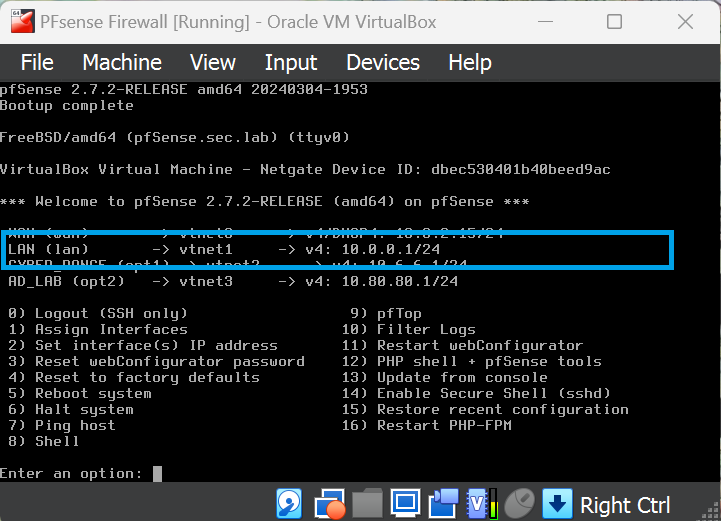
- We can confirm the right subnet is designated by cross referencing the pfSense router. See below.
Image Ref. (click me!)
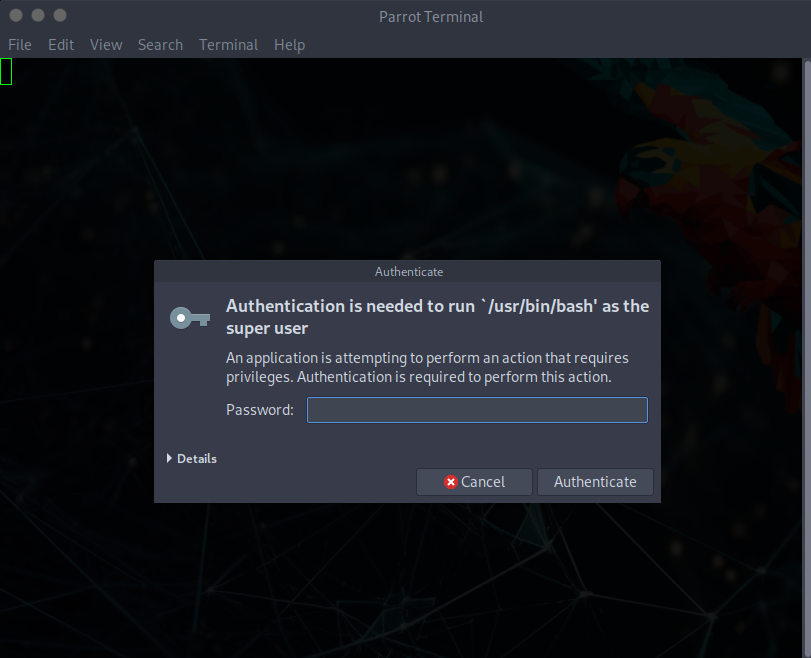
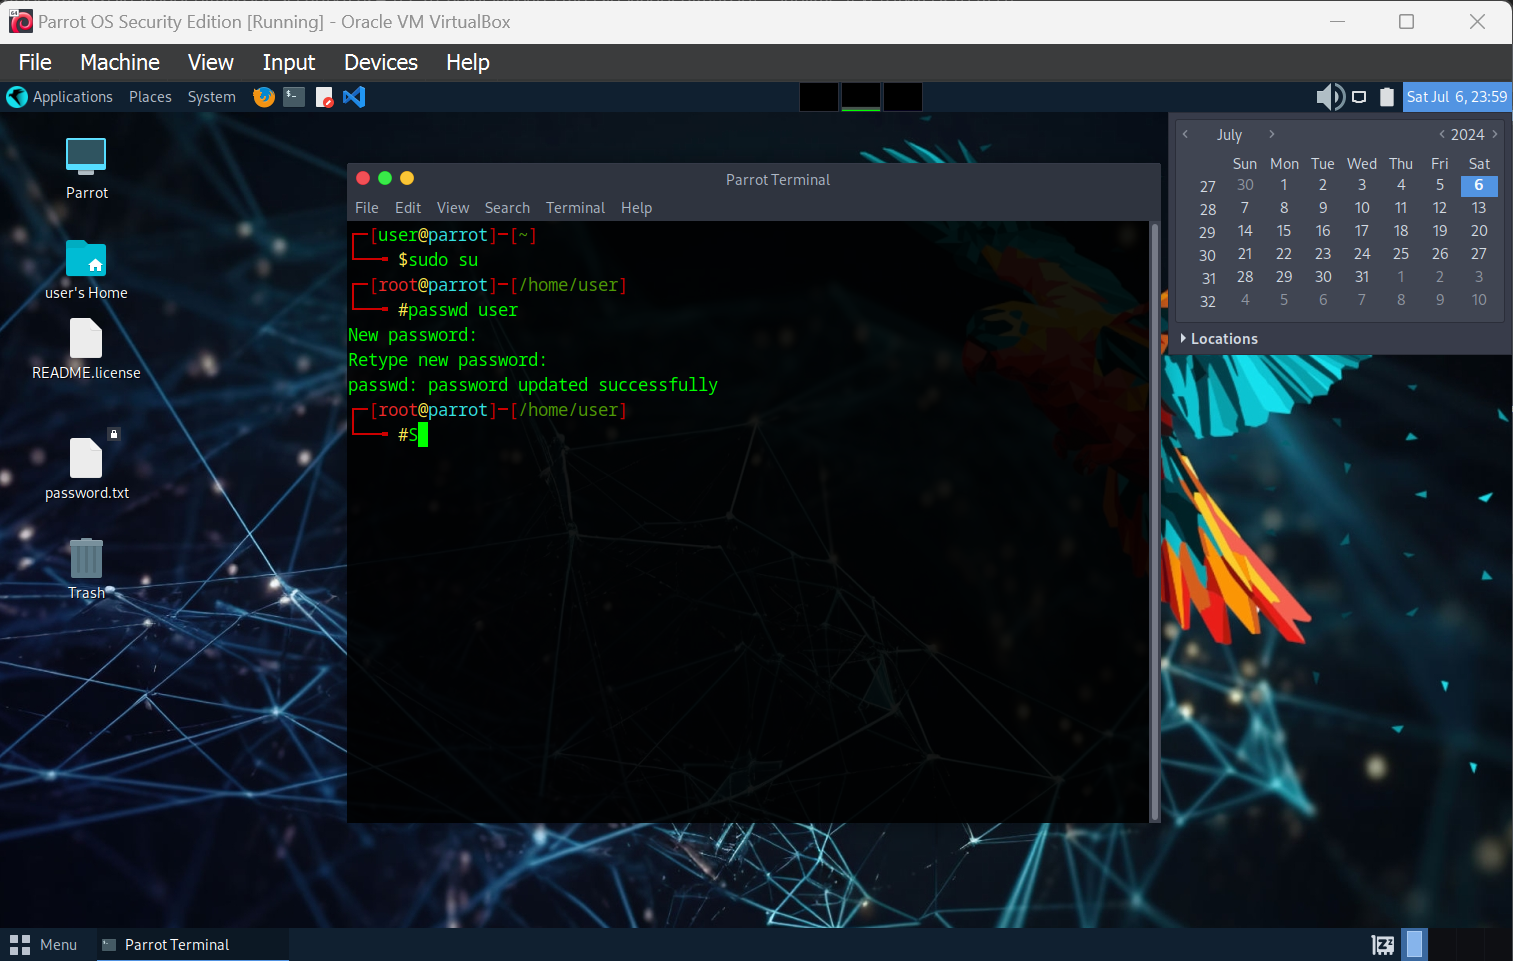
sudo su

passwd user
If you often forget your passwords, you can stop at this point and create a new clone using VirualBox.
Post-Installation Configuration (Optional)
Use the following command in the terminal to update the system:
sudo apt update && sudo apt full-upgrade
Enter password when prompted.
Once the sources have been fetched we will be asked if we want to continue. Enter Y and then press Enter to start the update.
After the update is complete run the following command to remove the unused packages:
sudo apt autoremove
In the next module, we will access the pfSense Web UI and complete the remaining configuration.